Your Kajabi Course Launch Marketing Workflow (2026)

A complete Kajabi course launch marketing workflow runs five phases: Plan, Build, Pre-launch, Launch, and Post-launch. Each phase has specific deliverables, and the whole system runs on six Kajabi automation recipes you can build once and reuse every time.
Here is the condensed version you can act on today.
Two launch timeline options:
- 4-week sprint: Week 1 = offer map + lead magnet live; Week 2 = Kajabi build + automations; Week 3 = pre-launch email sequence + webinar; Week 4 = open cart (3–5 days) + post-launch onboarding
- 8-week runway: Weeks 1–2 = strategy + brand; Weeks 3–4 = Kajabi build + QA; Weeks 5–6 = pre-launch content + list warming; Weeks 7–8 = open cart + post-launch analysis
Top 6 Kajabi automation recipes to build first:
- Opt-in → 5-email nurture sequence (14 days, but only if not yet purchased)
- Webinar registration → reminder sequence (48h, 24h, 1h) → cart-open trigger
- Cart abandon → follow-up email + SMS within 24 hours (but only if offer tag still active)
- Purchase → onboarding sequence + course access + student tag
- Refund or payment failure → remove access tags + notify support + retention workflow
- Post-purchase → time-limited upsell sequence + conversion tag on acceptance
Pre-cart-open checklist (nothing launches until these are done):
- Sales page live and mobile-tested
- Checkout connected to Stripe or PayPal with a real test transaction completed
- All email sequences loaded and sending from a verified domain
- Coupon codes and order bumps tested
- Community invite or onboarding page confirmed
- Analytics tags firing correctly
Pro Tip: Build your automations before you write your emails. Knowing the trigger logic first makes the copy far easier to write because you know exactly when each message lands.
Table of Contents
- What does a phase-by-phase Kajabi launch actually look like?
- Exact Kajabi automations to build and copy
- High-converting email sequences for your Kajabi launch
- Which Kajabi funnels and pages do you actually need?
- How should you structure pricing and checkout in Kajabi?
- What traffic channels actually work for a Kajabi launch?
- How do you QA and timeline a Kajabi launch?
- Which KPIs should you track during and after launch?
- How Sierra Lin Design implements Kajabi launches for clients
- Key Takeaways
- What actually separates a successful Kajabi launch from a frustrating one?
- Sierra Lin Design can build your Kajabi launch system for you
- Useful sources and Kajabi documentation
- FAQ
What does a phase-by-phase Kajabi launch actually look like?
A repeatable launch follows five distinct phases. Skipping one almost always creates a problem in the next.
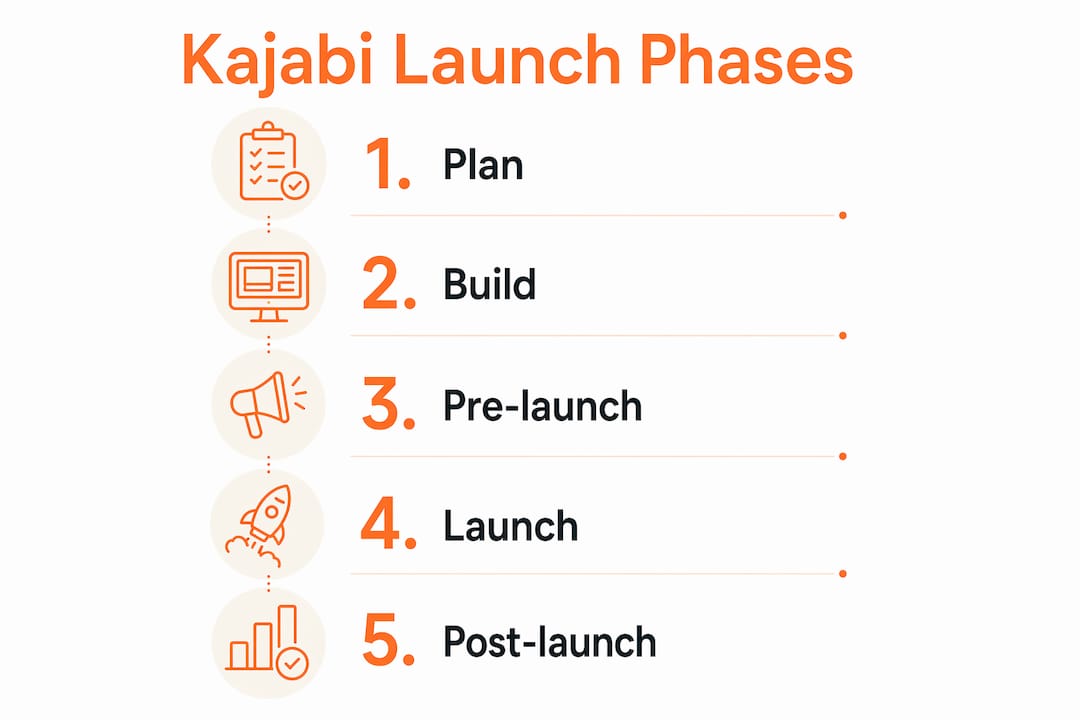
Phase 1: Plan
Define your audience before you open Kajabi. Who is this course for, what specific problem does it solve, and what does the transformation look like? Write a one-sentence positioning statement. From there, map your offer: price point, delivery format (self-paced, cohort, hybrid), and whether this is a live launch or evergreen. Choose your lead magnet based on what your audience would trade an email address for today. Decide early whether you are running a live launch with a hard cart-close date or an evergreen funnel with a deadline trigger.
Phase 2: Build inside Kajabi
Build your Kajabi product in this order: Product/Offer first, then Checkout settings, then Pages, then Automations, then Email Campaigns. Set up your tag schema before anything else. A clean tag structure (for example: lead-magnet-download, webinar-registered, cart-abandoned, student-active) makes every automation conditional logic work correctly. Connect your analytics (Kajabi's native analytics plus Google Analytics via the tracking code field) so you have clean data from day one.

Phase 3: Pre-launch
Your pre-launch window runs 2–4 weeks before cart open, per Kajabi's recommended launch phases. Publish your lead magnet landing page, activate your nurture pipeline, and run your webinar or presale event. This is also when you run internal QA: test every form, every automation trigger, and every email link. Do not skip this.
Phase 4: Launch
Open cart for 3–7 days. Send your open-cart email sequence (announcement, value case study, FAQ/objections, social proof, cart-close urgency). Run your live event or replay if applicable. Keep your support inbox monitored and your FAQ page updated in real time based on questions that come in.

Phase 5: Post-launch
Trigger your onboarding sequence immediately on purchase. Collect feedback at day 7 and day 30. Handle refunds cleanly (more on that in the pricing section). Onboard affiliates if you have them. Then decide: archive this as a live launch and run it again in 90 days, or transition it to an evergreen funnel with a deadline trigger.
Exact Kajabi automations to build and copy
Kajabi Automations use a "when → then, but only if" logic structure. These six recipes cover every critical moment in a launch.
| Automation | Trigger (When) | Action (Then) | Condition (But Only If) |
|---|---|---|---|
| Opt-in nurture | Lead submits lead magnet form | Add tag lead-magnet-download; start 5-email nurture sequence over 14 days |
Has NOT purchased the course |
| Webinar funnel | Contact registers for webinar | Add tag webinar-registered; send 48h, 24h, 1h reminders; trigger cart-open sequence at webinar end |
Tag webinar-registered is present |
| Cart abandon | Contact views checkout but no purchase in 24h | Send cart-abandon email + SMS with one-click checkout link | Tag cart-abandoned is present; has NOT purchased |
| Purchase onboarding | Purchase completes | Enroll in onboarding sequence; grant course access; add tag student-active; send welcome community post |
Purchase event confirmed |
| Refund / payment failure | Refund or charge failure event fires | Remove tag student-active; revoke course access; notify support; start retention/renewal workflow |
Refund or failure event confirmed |
| Post-purchase upsell | Purchase completes | Send time-limited upsell email sequence (3 emails over 5 days); add tag upsell-converted if accepted |
Has NOT already purchased the upsell offer |
Pro Tip: Tag every contact at the point of opt-in with the lead source (for example: source-webinar-april, source-lead-magnet-checklist). This lets you compare conversion rates by traffic source inside Kajabi's analytics without needing a separate CRM.
A few notes on the upsell and cross-sell setup: build your upsell as a separate Kajabi Offer with its own checkout page. The post-purchase automation fires immediately after the main purchase and sends a time-limited offer (48–72 hours works well). For Kajabi upsell implementation, the order bump on the checkout page is the highest-converting placement because the buyer's credit card is already out.
High-converting email sequences for your Kajabi launch
Every sequence below maps directly into Kajabi Email Campaigns or Automations. The cadence matters as much as the copy.
Pre-launch nurture sequence (5 emails over 14 days)
- Day 1 — The problem: Name the exact pain your audience is living with. No pitch. End with a question.
- Day 3 — Small win: Teach one thing they can act on today. Build trust before you ask for anything.
- Day 7 — Social proof: Share a result, a transformation story, or a before/after. Keep it specific.
- Day 10 — Course intro: Introduce the course by name for the first time. Focus on the outcome, not the modules.
- Day 14 — Webinar invite: Invite them to your free training. Make the value of attending clear.
Open-cart sequence (3–5 emails across 3–7 days)
- Email 1 (cart open): Doors are open. State the offer clearly, link directly to the sales page.
- Email 2 (day 2–3): Deep-value case study or transformation story. Address the most common objection.
- Email 3 (day 3–4): FAQ and objections. Answer the top five questions you get in DMs.
- Email 4 (day 4–5): Social proof blitz. Screenshots, testimonials, results.
- Email 5 (cart close): Final hours. Be direct. State the deadline, state what they lose, link once.
The cart-close email is the single highest-revenue message in any launch. Last-chance messaging often delivers 30–50% of total launch sales. Write it with urgency, not desperation.
Webinar reminder cadence
Send at 48 hours, 24 hours, 2 hours, and 15 minutes before the event. Each reminder should restate the single biggest reason to show up live, not just the logistics.
Onboarding sequence for new students (post-purchase)
- Day 0: Welcome email. Tell them exactly where to start and what to do in the first 10 minutes.
- Day 2: How to use the community (if applicable). Introduce them to other students.
- Day 7: Check-in. Ask how the first module went. This email has a high reply rate and surfaces support issues early.
- Day 30: Progress check-in. Celebrate wins. Soft-introduce your next offer or upsell.
- Day 60: Feedback request. Ask for a testimonial or case study. This is your social proof pipeline for the next launch.
Subject-line formulas to test:
- Curiosity gap: "The one thing holding [audience] back from [result]"
- Specificity: "How [name/persona] got [specific result] in [timeframe]"
- Urgency: "Closing in [X] hours — here's what you get"
- Direct: "[Course name] is open. Here's the link."
A/B test subject lines on your first email in each sequence. Even a small improvement in open rate compounds across the whole sequence.
Which Kajabi funnels and pages do you actually need?
You do not need to build every pipeline Kajabi offers. Start with the minimum architecture that converts, then add complexity after your first launch.
Recommended pipeline types:
- Opt-in → tripwire pipeline: Lead magnet landing page → thank-you page with a low-ticket offer. Builds your list and partially offsets ad spend.
- Webinar pipeline: Registration page → confirmation page → replay page → sales page. This is the highest-converting pipeline for courses priced above $500.
- Pre-sale pipeline: Waitlist or presale landing page → checkout → onboarding. Use this to validate demand before building the full course.
- Evergreen sales funnel: Lead magnet → nurture sequence → sales page with deadline trigger → checkout → onboarding. Runs continuously after your live launch.
Essential pages to build (minimum viable launch):
- Lead magnet / landing page
- Webinar registration page
- Sales page (see the page element checklist below)
- Checkout page
- Thank-you / onboarding page
High-converting sales page checklist (based on conversion-focused page structure):
- Strong hook that names the problem in the reader's own words
- Transformation statement: what life looks like after the course
- Module or curriculum breakdown with outcomes per section
- Testimonials placed near the price (not just at the bottom)
- Pricing options with clear value framing
- FAQ section that addresses the top objections
- Single, clear CTA repeated at least three times on the page
For high-converting Kajabi sales pages, the transformation statement is the most commonly underdeveloped element. Most creators describe what is in the course; buyers want to know what changes for them.
Using Kajabi Offers and Checkout inside the funnel:
Inside each Kajabi Offer, configure your payment options (one-time, payment plan, subscription), enable order bumps, set up coupon codes, and connect your payment gateway. The checkout page is generated automatically from the Offer settings, but you can customize the layout. Always test the checkout on mobile before launch day.
How should you structure pricing and checkout in Kajabi?
Pricing shape affects both conversion rate and refund rate. Choose based on your audience's buying behavior and your course's price point.
Pricing options and when to use each:
- One-time payment: Simplest to manage, highest upfront revenue, lowest refund complexity. Best for courses under $1,000.
- Payment plan (2–4 installments): Increases accessibility and conversion rate, but total revenue per student is typically higher than one-time because more people can say yes. Plan for a small percentage of payment failures.
- Subscription: Best for membership communities or ongoing content. Requires a churn management workflow.
- Free trial: Effective for memberships. Reduces friction at the top of funnel but requires a clear trial-to-paid conversion sequence.
Checkout settings to verify before launch:
- Payment gateway connected and tested (Stripe or PayPal, real transaction, then refund)
- Order bump enabled and copy reviewed
- Coupon codes created and tested end-to-end
- Tax settings reviewed for your jurisdiction
- Mobile checkout tested on at least two devices
- Thank-you page redirect confirmed
Content access rules by product type:
- Self-paced course: Immediate access on purchase. Students expect it.
- Cohort-based course: Date-locked access. Set the start date in Kajabi's access settings and communicate it clearly at checkout.
- Drip content: Kajabi drip schedules release content on a set number of days after enrollment. Use this for programs where pacing matters for outcomes.
Handling payment failures and refunds:
When a payment fails, Kajabi sends an automatic dunning email. Back that up with your own automation: when a charge-failure event fires, add a tag payment-failed, send a personal-feeling email with a direct link to update payment details, and pause access after 72 hours if unresolved. For refunds, the automation recipe in the previous section handles access revocation. Document your refund policy clearly on the sales page and in the onboarding email so support volume stays manageable.
What traffic channels actually work for a Kajabi launch?
The rule that saves most creators from wasted ad spend: never send cold traffic straight to a sales page. Route new audiences through a lead magnet or webinar first. Trust converts; cold clicks rarely do.
High-return channels for course creators:
- Email list (your own): The highest-converting channel, every time. A smaller, highly engaged list of a few hundred warm subscribers reliably outperforms a large, disengaged one. Protect and nurture it.
- Webinars and live training: The most effective conversion mechanism for courses above $500. Live events let you handle objections in real time and build trust fast.
- Long-form organic content (YouTube, podcast, blog): Slow to build but compounds over time. A single well-ranked YouTube video can feed your lead magnet funnel for years.
- Paid social ads to lead magnet: Facebook and Instagram ads work when they drive to a lead magnet or webinar registration page, not the sales page. Budget for testing creative and audience before scaling.
- Partnerships and affiliate promotion: One well-aligned partner with an engaged list can outperform months of solo content creation.
Lead magnet structure for high opt-in quality:
Your lead magnet should solve one specific problem your ideal student has right now, deliver a quick win (under 15 minutes to consume), and naturally lead to the course as the logical next step. A checklist, a short video training, or a one-page framework all work. A 40-page ebook rarely does.
Pro Tip: For paid ads, start with three creative variations and two audience segments. Let each run for at least 5–7 days before drawing conclusions. The landing page usually has more impact on cost-per-lead than the ad creative. Test the page first. For additional content promotion strategies that work alongside your Kajabi funnel, repurposing long-form content into short social clips is one of the most efficient ways to extend reach without additional ad spend.
How do you QA and timeline a Kajabi launch?
Nothing derails a launch faster than a broken checkout link discovered on open-cart day. Run this checklist before you flip the switch.
Pre-launch QA checklist:
- Complete a real test purchase (charge and refund your own card)
- Test mobile checkout on iOS and Android
- Send a test email from every sequence and check rendering on Gmail, Outlook, and Apple Mail
- Click every link in every email
- Confirm course access is granted immediately after test purchase
- Verify community invite fires correctly
- Check that analytics tags are firing (use Kajabi's analytics + Google Tag Assistant)
- Confirm your support SOP is documented and your inbox is monitored
4-week launch timeline:
- Week 1: Finalize offer map, write sales page copy, create lead magnet, build landing page
- Week 2: Build Kajabi product, configure checkout, set up all automations and email sequences, run QA
- Week 3: Pre-launch content live, lead magnet driving opt-ins, webinar or presale event, internal team briefed
- Week 4: Open cart (days 1–5), send open-cart sequence, close cart, trigger onboarding
8-week launch timeline:
- Weeks 1–2: Brand strategy, positioning, offer definition, lead magnet concept
- Weeks 3–4: Kajabi build, page design, automation setup, full QA pass
- Weeks 5–6: Pre-launch content, list warming, webinar promotion, beta cohort outreach
- Weeks 7–8: Open cart, full email sequence, post-launch onboarding and analysis
Go/no-go criteria before opening cart:
- Minimum opt-ins on your lead magnet page (set your own threshold based on list size, but aim for at least 50–100 engaged leads before a first launch)
- Landing page converting at a rate you can defend (a simple opt-in page should convert at 20%+ from warm traffic)
- Test purchase completed successfully
- At least one beta buyer or early testimonial in hand
A soft launch or beta cohort is worth running before your full launch. Offer a small group early access at a reduced price, collect feedback, and use their results as social proof. Building your pipeline before the course is finished lets you validate messaging with real buyers before you invest in full production.
Which KPIs should you track during and after launch?
Track fewer metrics more carefully. These are the numbers that tell you whether your launch is working.
| KPI | Where to Find It in Kajabi | What to Watch For |
|---|---|---|
| Opt-in rate | Pages → Analytics | 20%+ from warm traffic; below 10% means the headline or offer needs work |
| Email open rate | Email Campaigns → Analytics | 30–40% for a warm list is healthy; below 20% suggests deliverability or subject-line issues |
| Email click rate | Email Campaigns → Analytics | 3–5% is a solid baseline; cart-close emails often hit higher |
| Cart conversion rate | Offers → Analytics | 1–3% of total list is typical for a first launch; improves with each cycle |
| Average order value | Offers → Transactions | Track with and without order bumps to measure bump effectiveness |
| Refund rate | Offers → Transactions | Under 5% is manageable; above 10% signals a messaging or expectation mismatch |
| Churn rate (subscriptions) | Members → Analytics | Monthly churn above 5–8% requires an onboarding or engagement fix |
Where to find each metric in Kajabi:
Kajabi's native analytics live under the Analytics tab in your dashboard. For page-level data, go to Website → Pages → select the page → View Analytics. For offer-level revenue and transactions, go to Sales → Offers. For email performance, go to Marketing → Email Campaigns. For deeper Kajabi analytics, connect Google Analytics via the tracking code field in your site settings for cross-session attribution.
Reporting cadence:
In the 48 hours after cart opens, check opt-in rate, email open rate on your announcement email, and sales page visits. These three numbers tell you whether your list is engaged and your page is getting traffic. At 30 days post-launch, review cart conversion rate, refund rate, and onboarding email engagement. The reminder email and cart-close email together often account for 30–50% of launch revenue, so open and click rates on those two messages are worth reviewing closely.
How Sierra Lin Design implements Kajabi launches for clients
The pattern that works consistently: strategy before the build. Clients who come to Sierra Lin Design with a half-built Kajabi site and unclear positioning almost always need to redo significant portions of the work. The sequence that prevents that is strategy first, visual identity second, Kajabi build third.
What Sierra Lin Design implements for clients:
- Positioning and offer map (audience definition, transformation statement, pricing shape)
- Brand identity applied to the Kajabi environment (theme, typography, color, custom sections)
- Full Kajabi build: product setup, pipeline architecture, automation recipes, email sequences
- Sales page copy and design built from the brand brief
- Tag schema and analytics configuration
- QA pass and launch readiness review
Downloadable templates available from Sierra Lin Design:
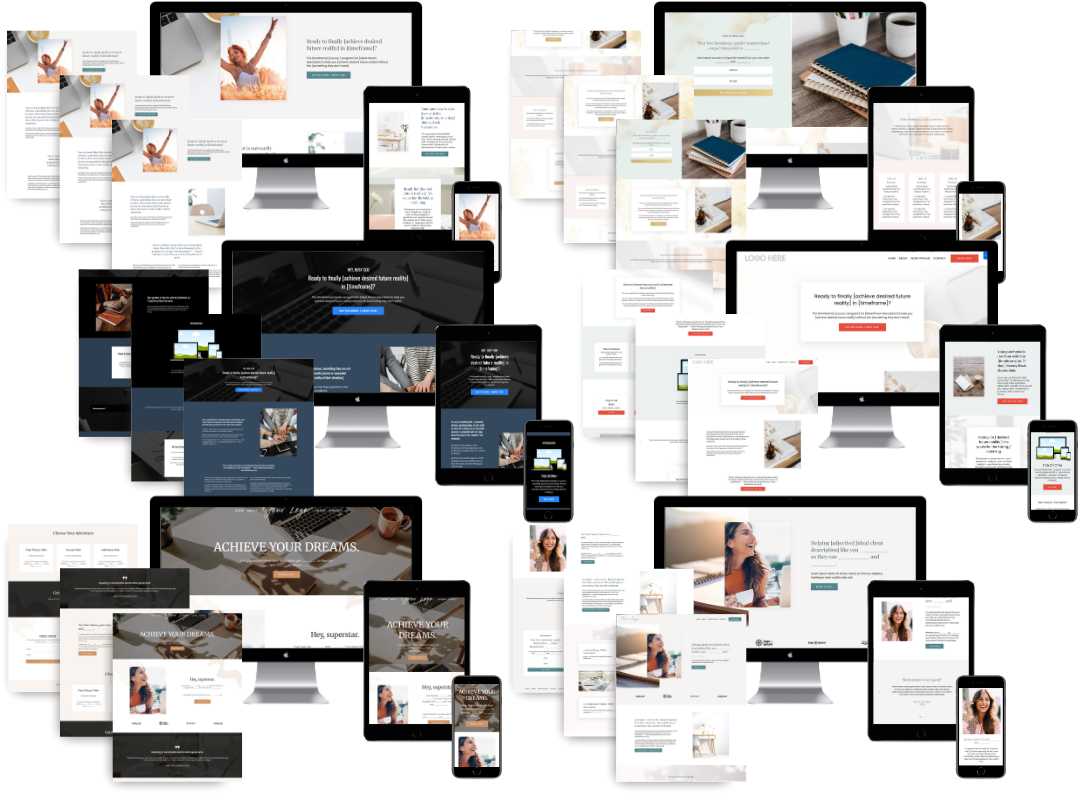
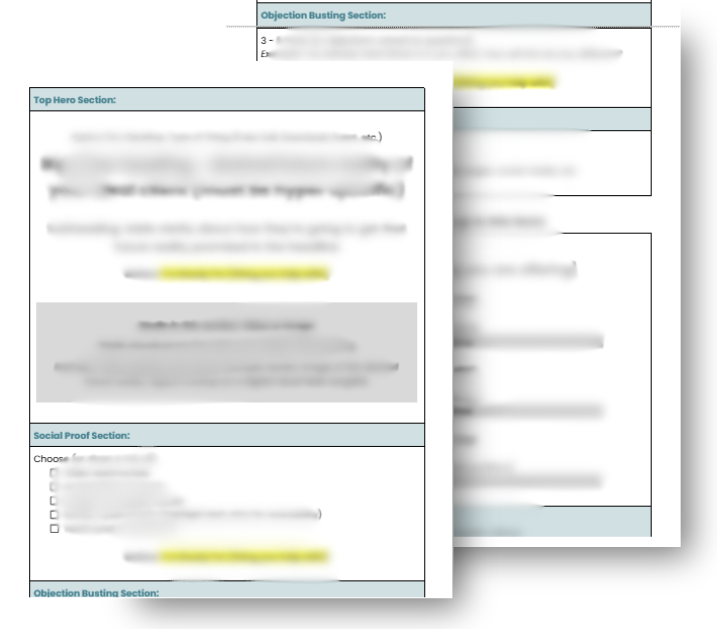
- Sales page wireframe (Kajabi-specific layout with section-by-section copy prompts)
- Automation recipes sheet (the six recipes from this guide in a copy-paste format)
- Email sequence templates (pre-launch, open-cart, onboarding)
- Tag schema checklist (naming conventions and trigger map)
Implementation options:
- DIY templates + consulting: Download the free templates, implement yourself, and book a strategy session for questions. Best for creators with time and some Kajabi experience.
- Done-with-you setup: Sierra Lin Design builds the strategy and architecture; you handle content and copy with guidance. Typical timeline: 3–4 weeks.
- Full done-for-you build: Strategy, identity, and complete Kajabi build from one brief. Typical timeline: 6–8 weeks. Best for established experts who want to launch once and launch right.
Pro Tip: If you are deciding between DIY and done-for-you, ask yourself one question: is the bottleneck your time or your knowledge? If it is time, hire it out. If it is knowledge, start with the templates and a consulting session to close the gaps.
Key Takeaways
A complete Kajabi course launch marketing workflow runs five phases, six core automations, and two reproducible timelines that any course creator can implement regardless of list size.
| Point | Details |
|---|---|
| Five-phase workflow | Plan, Build, Pre-launch, Launch, and Post-launch each have specific deliverables; skipping one creates problems in the next. |
| Six automation recipes | Build opt-in nurture, webinar funnel, cart abandon, purchase onboarding, refund handling, and upsell automations before cart opens. |
| Cart-close email impact | Last-chance messaging often drives 30–50% of total launch sales; write it with urgency and send it on time. |
| List quality over size | A highly engaged list of a few hundred subscribers reliably outperforms a large, disengaged one for course launches. |
| Sierra Lin Design | Provides done-for-you Kajabi builds, free launch templates, and strategy-first implementation to shortcut launch setup. |
What actually separates a successful Kajabi launch from a frustrating one?
The most common mistake I see is treating the Kajabi build as the first step. Founders open the platform, start building pages, and realize two weeks in that their positioning is fuzzy, their audience is too broad, and their sales page copy sounds like everyone else in their niche. Then they rebuild. That rework is expensive in both time and confidence.
The sequence that prevents it: define your positioning and offer before you touch Kajabi. Write your transformation statement. Name your audience. Set your price. Then build. Every page you create from that point has a clear brief, and the automations you set up actually reflect how your buyer moves through the decision.
On the question of when to hire a professional: if your course is priced above $1,000, if you are launching to an existing audience and cannot afford a poor first impression, or if you have spent more than 20 hours in Kajabi and still do not have a live sales page, those are the signals. The tech is not the problem. The missing strategic foundation is.
One more thing on speed versus polish: your first launch does not need to be perfect. It needs to be live. A tested checkout, a clear sales page, and a warm email list will outperform a beautifully designed site with no traffic every time. Launch with what you have, collect real feedback, and improve from there. The second launch is always better than the first.
Sierra Lin Design can build your Kajabi launch system for you
Knowing the workflow and having it built are two different things. Sierra Lin Design handles the full implementation: strategy, brand identity, Kajabi build, automation setup, and launch readiness review, so you can focus on your content and your audience instead of the tech.
Start with the free Kajabi templates — the sales page wireframe, automation recipes sheet, and email sequence templates are ready to download and use immediately.
Ready to have the whole system built for you? Book a call with me to talk through your offer, your timeline, and which implementation option fits your situation.
Useful sources and Kajabi documentation
These are the primary references used throughout this guide. Open the Kajabi Help Center links when you are building automations and pipelines; the UI steps change with platform updates, and the official docs reflect the current version.
- Kajabi Automations and Funnels (Kajabi Help Center): The canonical reference for building pipelines and automation logic inside Kajabi. Start here when setting up your "when → then" recipes.
- How to Launch a Digital Product (Kajabi Blog): Kajabi's own step-by-step launch plan covering pre-launch, open-cart, and post-launch phases with recommended timing.
- How to Create Sales Funnels for Online Courses (Membership.io): Explains funnel architecture and the cold-traffic rule in practical terms.
- Kajabi Course Launch Guide (SaaSpic): Covers product setup, checkout configuration, and the case for pre-selling before the course is complete.
- Course Funnels: How to Build the Best One (SchoolMaker): Strong reference for sales page structure and the conversion-focused page element checklist.
- What Founders Need to Know Before Launching on Kajabi (Designs for Growth): The source for the strategy-first sequencing principle and the cost of skipping brand work before the build.
FAQ
How do you launch a course on Kajabi?
Set up your Kajabi Product and Offer, build a sales page and checkout, create your pre-launch and open-cart email sequences, configure your automations, and open cart for 3–7 days. Run a full QA pass including a real test purchase before launch day.
What is a Kajabi funnel (Pipeline)?
A Kajabi Pipeline is a pre-built sequence of pages and automations that guides a contact from opt-in to purchase. Common types include the opt-in funnel, webinar funnel, and sales funnel, each with its own page templates and automation triggers built in.
What should a course marketing launch plan include?
A course launch plan covers five phases: offer definition and positioning, Kajabi build and automation setup, pre-launch list warming and lead generation, open-cart email sequence with a hard deadline, and post-launch onboarding and analysis.
Can Kajabi be used as a CRM?
Kajabi functions as a basic CRM through its People section, where you can view contact records, apply tags, track purchase history, and trigger automations. It handles most launch-related contact management natively, though creators with complex sales pipelines sometimes connect it to a dedicated CRM via Zapier.
How do you handle refunds and access in Kajabi?
When a refund is processed, use a Kajabi automation triggered by the refund event to remove the student's access tag, revoke course enrollment, and notify your support workflow. Document your refund policy on the sales page and in the onboarding email to reduce support volume.
Recommended
🚨Get the FREE Checklist
Skip the Kajabi tears—Swipe the free Website Checklist & Funnel Map
Exactly what should go where on your Kajabi site to maximize leads.